How to integrate unsupported Tuya devices on Home Assistant
The nice thing about standards is that you have so many to choose from.
― Andrew Tanenbaum
I’ve using Home Assistant for about 3 years now, for some basic automations like turning devices on/off on determinated periods and for energy production/consumption monitoring.
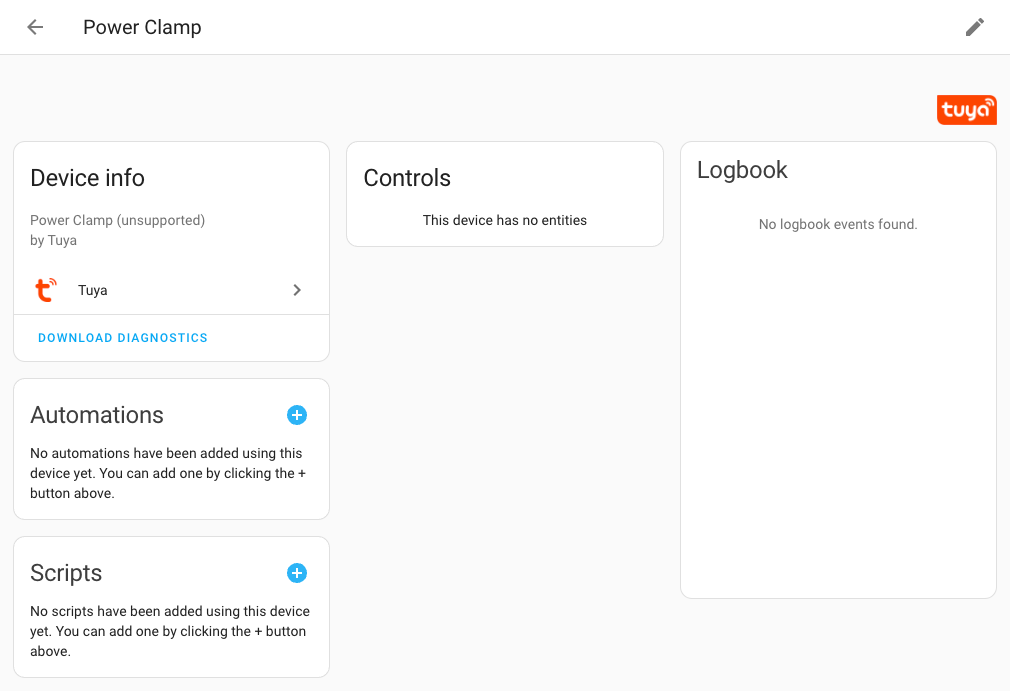
Recently I bought this Energy Meter device from AliExpress to monitor the energy consumption in my house. It works fine on the Tuya App, but it doesn’t work with the official Home Assistant integration, showns as “unsupported”:

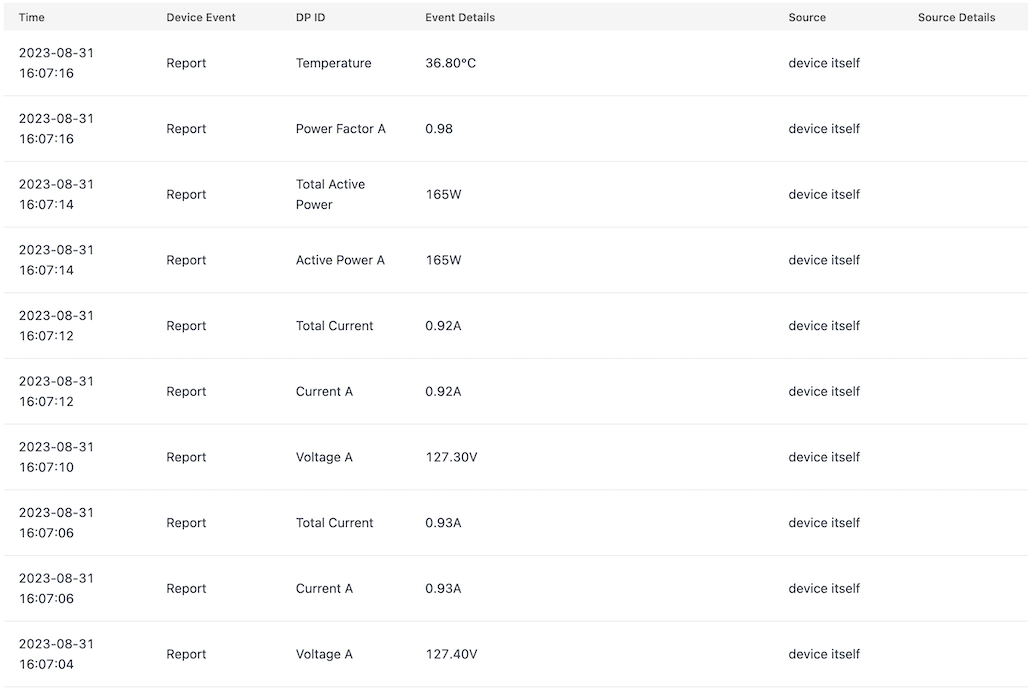
Despite that, when I check the device logs on Tuya Cloud platform, it have all the data that I need:

So, I just need a way to get this data from Tuya’s API. Let’s go!
Tuya Cloud setup
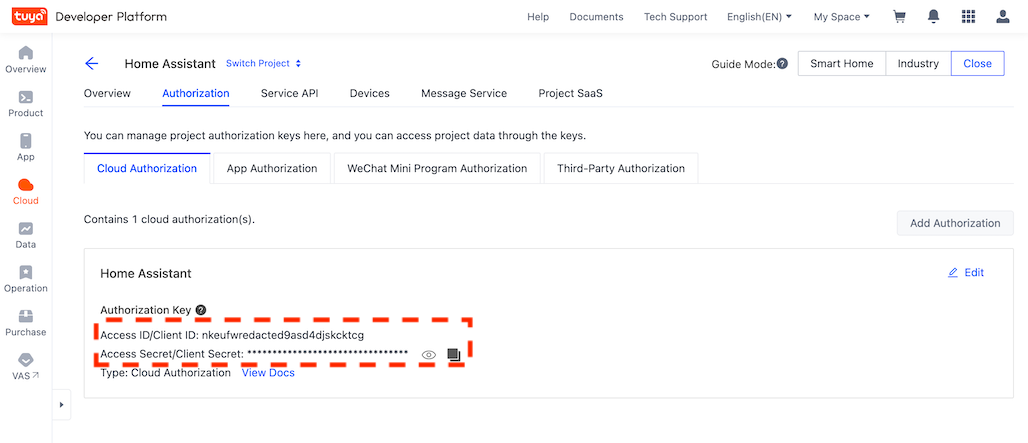
You just need the client_id and client_secret to access Tuya’s API. If you already have the integration configured, jump to next section.

If you need a more detailed guide to configure Tuya Coud account, just follow this guide or watch this video.
Fetching device properties
The script bellow call the Query Properties endpoint for a single device. So, all data reported to Tuya Cloud will be returned in the response.
import sys
import hashlib
import hmac
import json
import urllib
import urllib.parse
import logging

from urllib.request import urlopen, Request
from datetime import datetime

def make_request(url, params=None, headers=None):
    if params:
        url = url + "?" + urllib.parse.urlencode(params)
    request = Request(url, headers=headers or {})

    try:
        with urlopen(request, timeout=10) as response:
            return response, response.read().decode("utf-8")

    except Exception as error:
        return error, ""

def get_timestamp(now = datetime.now()):
    return str(int(datetime.timestamp(now)*1000))

def get_sign(payload, key):
    byte_key = bytes(key, 'UTF-8')
    message = payload.encode()
    sign = hmac.new(byte_key, message, hashlib.sha256).hexdigest()
    return sign.upper()

def get_access_token():
    now = datetime.now()

    timestamp = get_timestamp(now)
    string_to_sign = client_id + timestamp + "GET\n" + \
        EMPTY_BODY + "\n" + "\n" + LOGIN_URL
    signed_string = get_sign(string_to_sign, client_secret)

    headers = {
            "client_id": client_id,
            "sign": signed_string,
            "t": timestamp,
            "mode": "cors",
            "sign_method": "HMAC-SHA256",
            "Content-Type": "application/json"
            }

    response, body = make_request(BASE_URL + LOGIN_URL, headers = headers)

    json_result = json.loads(body)["result"]
    access_token = json_result["access_token"]
    return access_token

def get_device_properties(access_token, device_id):
    url = ATTRIBUTES_URL.format(device_id=device_id)
    timestamp = get_timestamp()
    string_to_sign = client_id + access_token + timestamp + "GET\n" + \
        EMPTY_BODY + "\n" + "\n" + url
    signed_string = get_sign(string_to_sign, client_secret)

    headers = {
            "client_id": client_id,
            "sign": signed_string,
            "access_token": access_token,
            "t": timestamp,
            "mode": "cors",
            "sign_method": "HMAC-SHA256",
            "Content-Type": "application/json"
            }

    response, body = make_request(BASE_URL + url, headers = headers)

    json_result = json.loads(body)
    properties = json_result["result"]["properties"]
    output = {j['code']: j['value'] for j in properties}

    return output

EMPTY_BODY     = "e3b0c44298fc1c149afbf4c8996fb92427ae41e4649b934ca495991b7852b855"
BASE_URL       = "https://openapi.tuyaus.com"
LOGIN_URL      = "/v1.0/token?grant_type=1"
ATTRIBUTES_URL = "/v2.0/cloud/thing/{device_id}/shadow/properties"

if len(sys.argv) != 2:
    raise SystemExit("usage: python3 tuya.py device_id")
_, device_id = sys.argv

client_id     = "tuya_client_id"
client_secret = "tuya_client_secret"

access_token = get_access_token()
attributes   = get_device_properties(access_token, device_id)
json_output  = json.dumps(attributes)

print(json_output)
Paste this code on a tuya.py file inside Home Assistant config dir and change the values for client_id and client_secret obtained from the previous step. You can hardcoded or place on secrets.yaml file.
The device_id could be obtained on Tuya App on device details.
After log in on Home Assistant terminal, test the integration running:
python3 /config/tuya.py device_id
If everything works fine, the output will be a json with all device attributes. In my case, returned this:
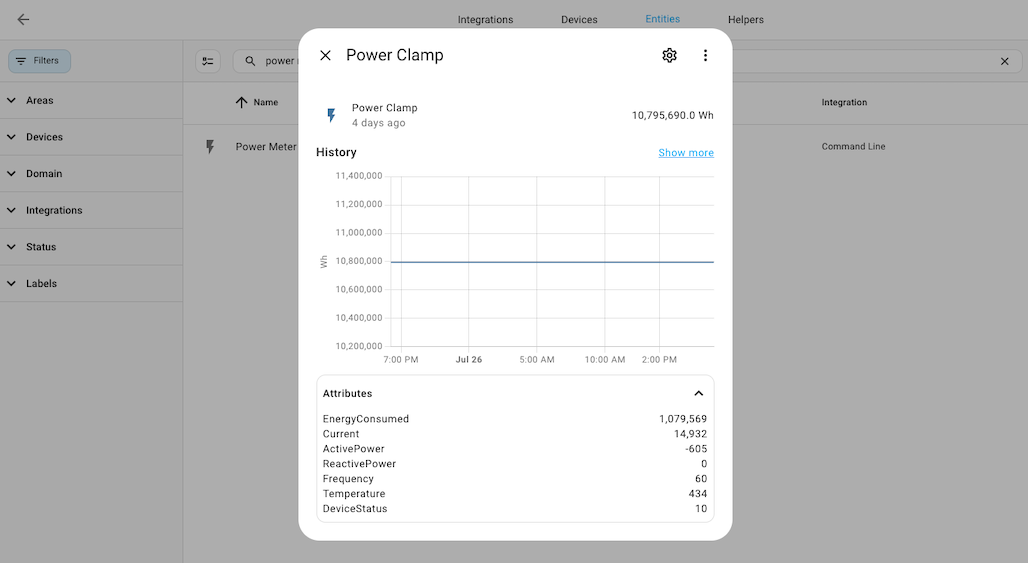
{"EnergyConsumed": 1079569, "Current": 14932, "ActivePower": -605, "ReactivePower": 0, "Frequency": 60, "Temperature": 434, "DeviceStatus": 10}
Nice, you have a working script that fetches values from Tuya’s API. Now, let’s add this to Home Assistant.
Creating a sensor on Home Assistant
You just need to create a command_line sensor adding this into configuration.yaml file:
command_line:
    - sensor:
        name: Tuya Power Clamp
        unique_id: tuya_power_clamp
        command: "python3 /config/tuya.py device_id"
        device_class: power
        state_class: total_increasing
        unit_of_measurement: Wh
        scan_interval: 60
        value_template: "{{ value_json.EnergyConsumed | float(0) * 10 }}"
        json_attributes:
          - EnergyConsumed
          - Current
          - ActivePower
          - ReactivePower
          - Frequency
          - Temperature
          - DeviceStatus
The device_class, state_class, unit_of_measurement and value_template will depend of the type of your device. Check Home Assistant documentation for more details about this.
After restarting Home Assistant, you could find the sensor on Devices & services settings:

If you need to poll more devices, just create a new sensor section and change the device_id value.
Enjoy o/
References
Lastest Posts
- 05 Jan 2026 What 6 months of PHP/Laravel taught me as a Ruby/Rails developer
- 18 Dec 2025 My thoughts about AI tools, vibe coding, and some predictions about the future of programming
- 29 May 2025 Useful Ruby methods and tips that you might not know (or remember)
- 14 Apr 2025 I've been writing software for the last 25 years. Here are a few more things I've learned so far (part 2)
- 16 Mar 2025 How to backup your photos from Google and fix the Exif metadata